How to Make a Simple Turnip Mash in 20 Minutes (No Cream Needed)
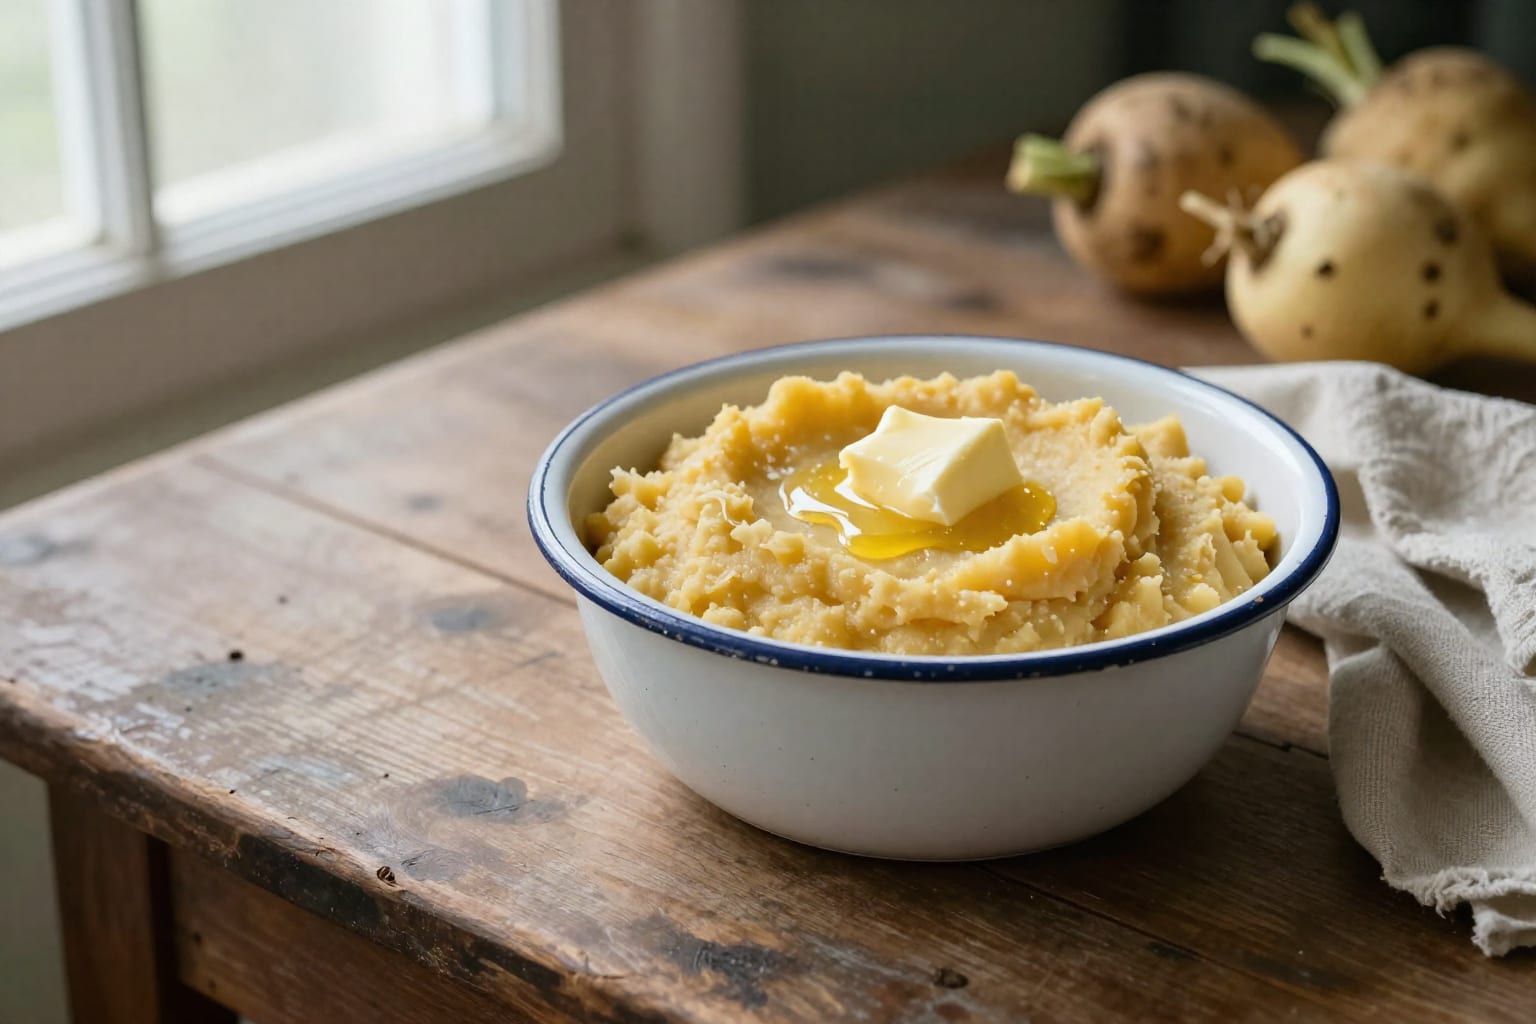
My sister-in-law once eyed a bowl of my turnip mash like it was a suspiciously pale potato imposter. She’d been burned before by watery, bitter mush that tasted like boiled socks. I slid the spoon toward her anyway. “Just one bite. It’s got butter, salt, and absolutely no cream.” She took it, blinked, and then scraped another helping onto her plate before the roast chicken even made it around the table. That’s the thing about a truly good simple turnip mash — it doesn’t need a river of dairy to taste rich. It just needs one trick that most recipes skip right over.
Why You’ll Love This Turnip Mash (Even If You’re Not a Turnip Fan)
Let’s be honest: turnips have a PR problem. They’re the pale, slightly peppery cousins of the potato, often relegated to soups or roasted medleys where they can hide. When someone says “simple turnip mash,” you might picture a bland, grayish puddle that needs a gravy lifeboat to be edible. I’ve been there. The first time I tried making it, I boiled chopped turnips, drained them poorly, and mashed with a splash of milk. The result was a weepy, faintly bitter slurry that even my compost heap seemed to reject. I nearly swore off the vegetable entirely.
What changed everything was learning that the problem isn’t the turnip — it’s the water trapped inside it. Unlike potatoes, which can handle a bit of retained moisture and still fluff up, turnips hold water like a sponge. If you don’t actively remove that liquid after cooking, you’re essentially mashing a wet rag. This recipe fixes that with a dead-simple squeeze step that takes maybe 45 seconds. The reward is a mash so silky and savory-sweet that you’ll stop thinking of it as a potato substitute and start treating it as its own thing — a quick side dish with a gentle peppery kick that brightens up roasted meats, lentil loaves, or a simple fried egg.
This is a quick turnip recipe built for real weeknights. Twenty minutes from raw vegetable to bowl, no cream required, no special equipment beyond a pot and a potato masher. It’s also forgiving: if you’ve only got older turnips from the back of the crisper, a pinch of salt and a tiny drizzle of maple syrup will mellow any bitterness without turning it into dessert. I’ve served this to self-described turnip skeptics at three different family dinners now, and every time, the bowl comes back empty. That’s a pretty solid conversion rate.
The Secret to Fluffy, Not Watery, Turnip Mash
If you take only one thing from this article, let it be this: how to make turnip mash that isn’t a soggy disappointment hinges entirely on what you do right after draining the boiled turnips. Most recipes tell you to drain and mash. That’s step one of a two-step dance, and skipping the second step is why so many people think they hate turnips.
Here’s the science in a nutshell. Turnips are roughly 92% water. When you boil them, their cell walls soften and release even more moisture. If you immediately start mashing, all that freed water gets incorporated into the mash, creating a thin, sloshy texture. Adding cream, butter, or cheese at that point just makes it a richer puddle — it doesn’t solve the structural issue. The fix is aggressively simple: after draining, return the hot turnip pieces to the dry, hot pot (heat off) and let them sit for one minute. This steam-dries the exteriors. Then — and this is the critical part — transfer them to a clean kitchen towel or a double layer of cheesecloth, gather the corners, and squeeze firmly over the sink. You’ll be amazed at how much cloudy liquid comes out. For two medium turnips, I typically wring out a quarter cup or more. That’s a quarter cup of water that won’t be thinning out your no cream turnip mash.
This technique matters far more than what fat you add later. I’ve tested side-by-side batches: one squeezed, one not, both finished with the same amount of butter and salt. The squeezed batch stood up in fluffy, golden peaks that held a pat of butter on top without it sinking. The un-squeezed batch spread into a sad puddle within seconds. The texture difference is night and day, and it’s what gives this mash that “creamy” mouthfeel without a drop of actual cream. If you’re aiming for perfect turnip mash texture, this is your non-negotiable step.
One more note: cut your turnips into even, roughly 1-inch cubes before boiling. Uneven pieces mean some turn to mush while others stay hard, and over-boiled turnips release even more water. You want them fork-tender, about 10–12 minutes in salted boiling water, not falling apart. A sharp paring knife should slide in with just a little resistance. Drain, steam-dry, squeeze, then mash. In that order, always.
Ingredients You Already Have (No Special Shopping Needed)
One of the joys of this simple turnip mash recipe is that it pulls entirely from pantry and fridge staples. You won’t need to hunt down a specialty cream or a particular variety of turnip. In fact, the ingredient list is so short it feels like a magic trick.
- 2 medium turnips (about 1.5 pounds total): Look for ones that feel heavy for their size, with smooth skin and no soft spots. Smaller turnips tend to be sweeter and less bitter.
- 2 tablespoons unsalted butter: This is the main richness. For a dairy-free or vegan version, swap in the same amount of good olive oil or a creamy vegan butter — I’ve used a cashew-based one with excellent results.
- ½ teaspoon fine sea salt, plus more for the boiling water: Salt the water generously, like you would for pasta. It seasons the turnips from the inside out.
- ¼ teaspoon freshly ground black pepper: White pepper works too if you want to keep the mash uniformly pale, but I like the specks of black.
- Optional: 2–3 tablespoons warm vegetable or chicken broth: This is your insurance policy. If the mash feels too thick after the squeeze step, add broth a tablespoon at a time until it reaches a silky, spoonable consistency. It adds savory depth without dairy.
That’s it. Five ingredients, one of which is water-optional. The beauty of these easy turnip mash ingredients is that they don’t mask the turnip’s natural flavor — a mild, peppery sweetness that’s brighter than potato and earthier than cauliflower. The butter and salt amplify it; the broth gives you control over the final texture. If you’re feeling flush, a smashed clove of garlic boiled alongside the turnips is a lovely aromatic addition, but it’s firmly in the “nice to have” column.
Step-by-Step: From Raw Turnip to Silky Mash in 20 Minutes
This is the part where we move from theory to dinner. I’ve timed this 20 minute turnip mash multiple times in my own kitchen — it’s accurate as long as you bring the water to a boil while you peel and chop, which is a classic time-stacking move. Here’s the play-by-play.
- 0:00 – Boil the water: Fill a large pot with water, salt it generously (about a tablespoon of kosher salt), and set it over high heat. Cover it to speed things along.
- 0:03 – Prep the turnips: While the water heats, peel the turnips with a vegetable peeler. Cut off the top and tail, then slice into 1-inch cubes. You want them roughly uniform so they cook at the same rate. If the turnips are very large, halve or quarter them first for easier handling.
- 0:08 – Boil the turnips: By now the water should be at a rolling boil. Add the cubed turnips, give them a stir, and keep the heat high. Boil uncovered for 10–12 minutes. Check at 10 minutes: poke a cube with a fork. It should slide through easily but the cube shouldn’t be disintegrating. If it’s still firm in the center, give it another 1–2 minutes.
- 0:18 – Drain and steam-dry: Drain the turnips into a colander, shake off excess water, then return the empty pot to the stove with the heat turned off. Dump the drained turnips back into the hot, dry pot and let them sit for 1 minute. You’ll see a faint wisp of steam as the surface moisture evaporates.
- 0:19 – The squeeze (do not skip): Transfer the turnip pieces to a clean kitchen towel or a double layer of cheesecloth. Gather the corners to form a bundle and, holding it over the sink, squeeze firmly. You’ll feel warm liquid run out. Squeeze until the bundle feels drier and the turnips look a little compressed. Don’t go full Hulk — you’re not juicing them, just removing the free water.
- 0:20 – Mash and finish: Return the squeezed turnips to the pot. Add the butter, salt, and pepper. Mash with a potato masher until smooth and fluffy. If the mash seems too thick or stiff, add warm broth one tablespoon at a time, mashing and stirring until you reach a silky, cloud-like consistency. Taste and adjust seasoning — sometimes a pinch more salt makes all the difference.
Troubleshooting: If your mash is still watery after all that, it’s usually because the turnips were over-boiled and absorbed too much liquid. Next time, check them earlier. If it’s too thick, broth is your friend — it loosens the mash without diluting flavor. If it’s bitter, a teaspoon of maple syrup or honey stirred in at the end will balance it out beautifully. These are the little cues that turn a good turnip mash instruction into a reliable, repeatable weeknight win.
Flavor Variations (Savory, Sweet, or Spiced)
Once you’ve nailed the basic turnip mash recipe, it’s incredibly easy to spin it in different directions. The base is a blank canvas that takes well to herbs, spices, and even a touch of sweetness. Here are three riffs I’ve tested and loved, each adding maybe 30 seconds to the process.
Garlic & Herb: Add 2 peeled garlic cloves to the boiling water with the turnips. They’ll soften and mellow, losing their raw bite. Drain and squeeze along with the turnips, then mash everything together. Stir in a tablespoon of finely chopped fresh chives or parsley at the end. This is my go-to for serving alongside roast chicken or a hearty stew — it’s savory, fragrant, and feels a little more dressed up.
Maple-Cinnamon (Holiday Table): This one surprises people. After mashing, stir in 1 tablespoon of pure maple syrup and a pinch of ground cinnamon. The result is subtly sweet, warmly spiced, and pairs shockingly well with roasted pork, turkey, or a holiday lentil loaf. It’s a turnip side dish that often steals the spotlight from the sweet potatoes. I brought this to a Thanksgiving dinner once and had three people ask for the recipe before dessert.
Spicy Harissa: For a bold, smoky kick, swirl in 1–2 teaspoons of harissa paste after mashing. Start with one teaspoon, taste, and add more if you like heat. The pepperiness of the turnip stands up beautifully to the chili, and a drizzle of olive oil on top ties it together. This version is excellent with grilled lamb, roasted chickpeas, or as a bed for a fried egg at breakfast. It’s the kind of flavored turnip mash that makes people rethink everything they thought they knew about root vegetables.
Each variation builds on the same base technique — boil, squeeze, mash — so you’re never adding more than one extra ingredient. Play around. A spoonful of miso paste, a sprinkle of smoked paprika, or a handful of grated Parmesan all work beautifully. The key is starting with a dry, fluffy mash that can actually absorb and carry those flavors, rather than a watery one that dilutes them.
I keep a printout of this base recipe taped inside my kitchen cupboard, with the three variations scribbled in the margins. It’s the kind of reference that earns its spot — worth bookmarking before your next grocery run, especially if you’ve got turnips languishing in the fridge and no plan for them.
The real takeaway here is that a great turnip mash is less about ingredients and more about technique. Master the squeeze, and you’ve unlocked a side dish that’s faster than mashed potatoes, lighter on the stomach, and surprisingly elegant. Whether you keep it simple with butter and salt or dress it up with maple and cinnamon, you’re 20 minutes away from a bowl of something genuinely good. Give it a shot next time you spot turnips at the market — you might just convert a skeptic at your own table.